Difference between revisions of "Student Group Editor"
(→By clicking on Info button) |
(→By clicking on Info button) |
||
| Line 36: | Line 36: | ||
== By clicking on Info button == | == By clicking on Info button == | ||
| − | * Select the student group you're interested in. Below the Staff List on the left (in the first column), the Info button will show. | + | * '''Select the student group you're interested in. Below the Staff List on the left (in the first column), the Info button will show.''' |
| − | * Year Info button shows when a Year is selected. | + | * '''Year Info''' button shows when a Year is selected. |
[[File:Wiki_VCAT2_YearSelected_YearInfo.png|500px]] | [[File:Wiki_VCAT2_YearSelected_YearInfo.png|500px]] | ||
| − | * School Info button shows when a School is selected. | + | * '''School Info''' button shows when a School is selected. |
[[File:Wiki_VCAT2_SchoolSelected_SchoolInfo.png|500px]] | [[File:Wiki_VCAT2_SchoolSelected_SchoolInfo.png|500px]] | ||
| − | * Course Info button shows when a Course is selected. | + | * '''Course Info''' button shows when a Course is selected. |
[[File:Wiki_VCAT2_CourseSelected_CourseInfo.png|500px]] | [[File:Wiki_VCAT2_CourseSelected_CourseInfo.png|500px]] | ||
| − | * Section Info button shows when a Section is selected. | + | * '''Section Info''' button shows when a Section is selected. |
[[File:Wiki_VCAT2_SectionSelected_SectionInfo.png|500px]] | [[File:Wiki_VCAT2_SectionSelected_SectionInfo.png|500px]] | ||
Revision as of 13:48, 1 February 2018
UNDER CONSTRUCTION
The Student Group Editor allows you to manually assign and unassign existing students and staff, link and unlink grades and curriculum, access any student group from within the same dialog, merge staff, students, and curriculum assignments between groups, and also delete a group.
Contents
How To Access
There are two different ways to access the Student Group Editor.
By clicking on 'i' when hovering over a group
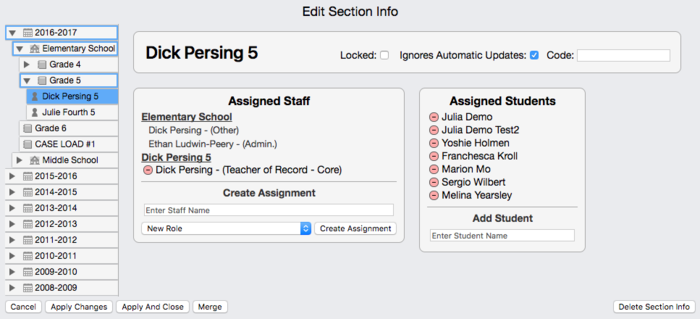
- To access the Group Editor dialog, simply hover over a group and click on the i.
- From within the dialog, you can access any other group on the left, and even edit multiple groups before saving your changes.
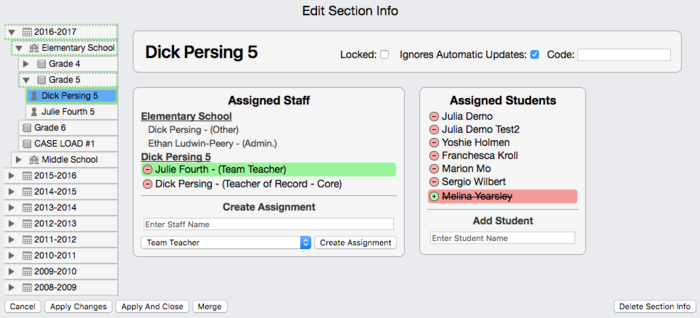
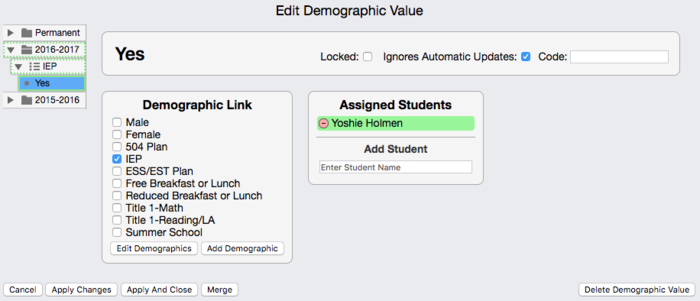
- When changes are made, the group directly affected will be displayed with a green solid border and its associated groups higher in the hierarchy with a dotted green border. The actual changes being added will be highlighted in green, and anything being removed will display in red with a strikethrough until changes are saved or cancelled.
- To Save your changes, you can either click on Apply Changes - to save the changes and remain in the edit dialog, or Apply and Close - to save the changes and close the dialog.
- Click on Cancel to get out of the dialog without saving any changes.
By clicking on Info button
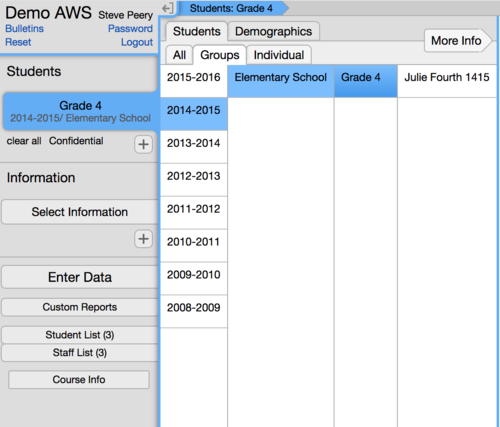
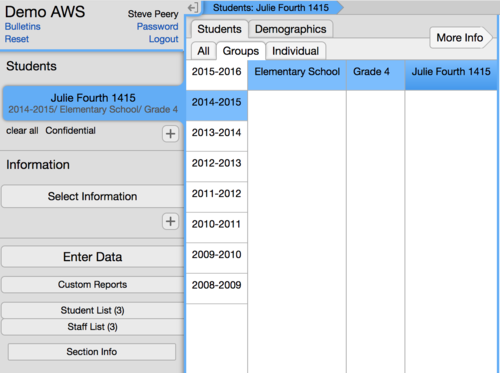
- Select the student group you're interested in. Below the Staff List on the left (in the first column), the Info button will show.
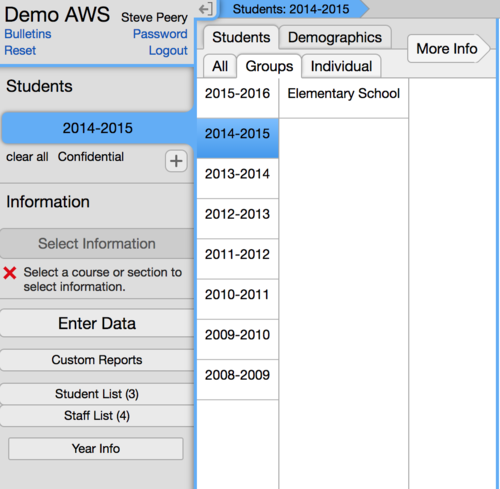
- Year Info button shows when a Year is selected.
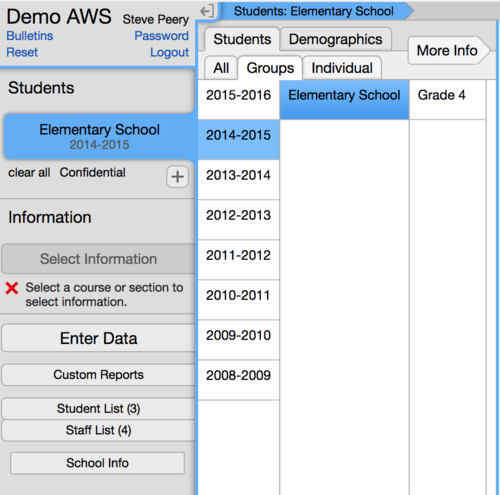
- School Info button shows when a School is selected.
- Course Info button shows when a Course is selected.
- Section Info button shows when a Section is selected.
Features
Merge
For Staff, Curriculum, and Students
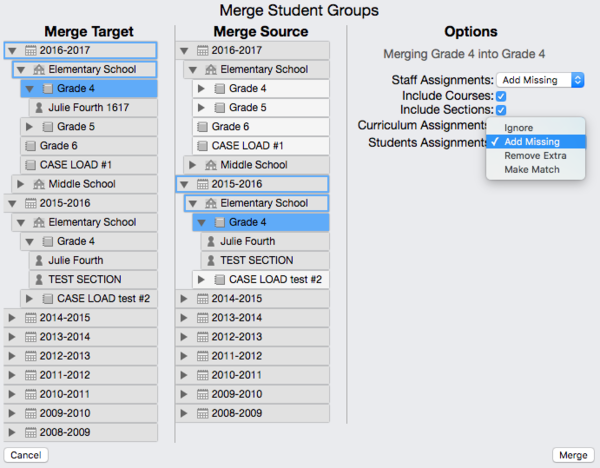
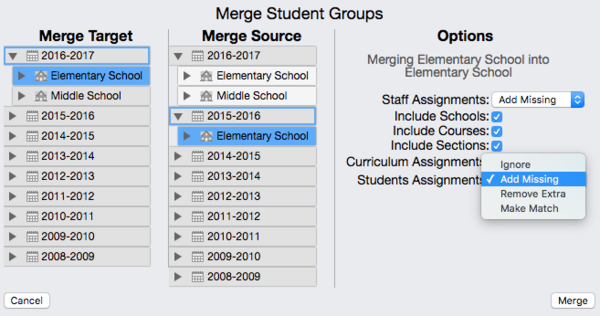
The Merge feature is available at the Section, Course, School, and Year level, and each level offers options. For Staff, Curriculum, and Students assignments, you have the choice to Ignore, Add Missing, Remove Extra, or Make Match.
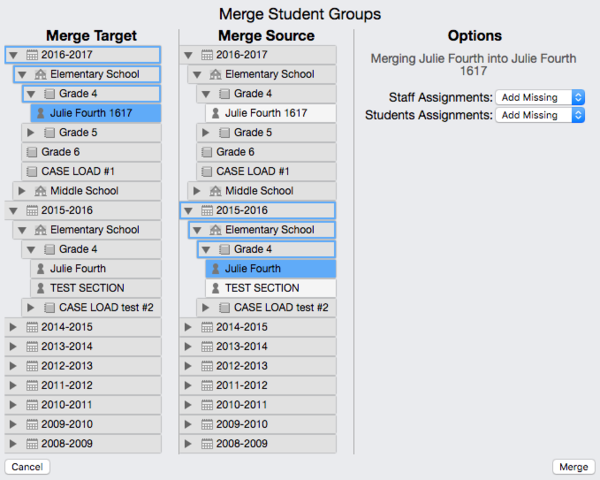
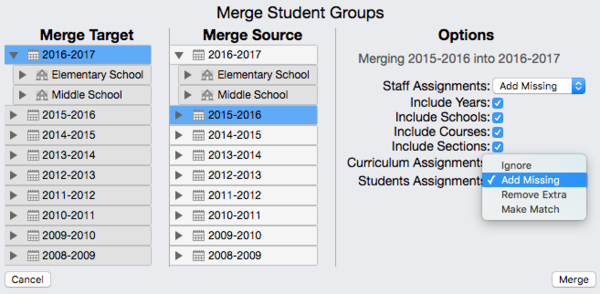
- Before clicking the Merge button, you have to select the Merge Target first. Once the Target is selected, then you click on Merge, select the Source, set the options, then click Merge again
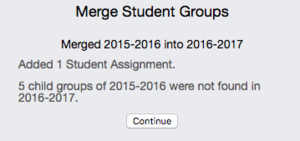
- The next screen gives you, in writing, an overview of the effect of the Merge. Click Continue to visually see highlighted in green where and what the changes are.
- Review all the changes and edit any of them if need be before saving them. There is NO way of undoing a merge without having to manually editing everything that has changed.
- A Cancel button is also available if you wish to get out without saving any changes.
From Previous Year to New Year
The VCAT Importer takes care of assigning the primary teachers (Teacher of Record) and students to groups. It doesn't assign to groups any other teachers or staff that have roles like Principal, Literacy Coach, Team Teacher, Co-Teacher of Record, ... Instead of completely taking care of these types of assignments manually, one by one, the Merge feature can be use to facilitate this process.
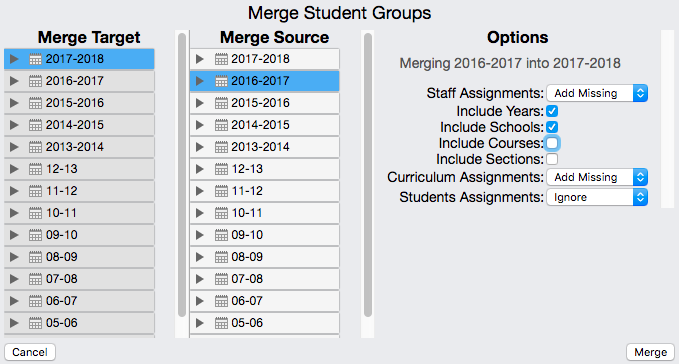
- Select the new year first - this is your target.
- Click on Merge.
- Under Select Merge Source, click on last year to have it become the source of the information that will be transferred to the new year.
- Set the Options to say 'Add Missing' next to Staff Assignments, keep the check for 'Include Years' and 'Include Schools' (this will allow for last year's Year and School level staff assignments to come through), 'Add Missing' next to Curriculum Assignments (only if you wish to take last year's curriculum links and apply/adjust them to the new year, otherwise, set it to Ignore), and set Students Assignments to 'Ignore' (obviously, you do not want to replicate last year's students assignments to the new year).
- The next screen gives you, in writing, an overview of the effect of the Merge. Click Continue to visually see highlighted in green where and what the changes are.
- Review all the changes and edit any of them if need be before saving them. There is NO way of undoing a merge without having to manually editing everything that has changed.
- A Cancel button is also available if you wish to get out without saving any changes.
For Demographic Groups
The Student Group Editor is also used for Demographic Groups. It allows the user to edit Demographic Sets, Demographic Variables, and Demographic Values, and manually update existing students demographics, as well as merging student assignments between demographic groups.
- The Merge feature is helpful if you are manually updating students demographics. In the example below, it is merging the students assignments from demographic set 2015-2016 into the one called 2016-2017.
- Right after clicking the Merge button at the bottom right, an overview of the changes are presented in a word form. Just hit Continue to better see and understand the changes created by the Merge.
- When changes are made, the group directly affected will be displayed with a green solid border and its associated groups higher in the hierarchy with a dotted green border. The actual changes being added will be highlighted in green, and anything being removed will display in red with a strikethrough until changes are saved or cancelled. Any edits can still be done before changes are saved.


